Replacing Pool Tiles Underwater: A Comprehensive Guide
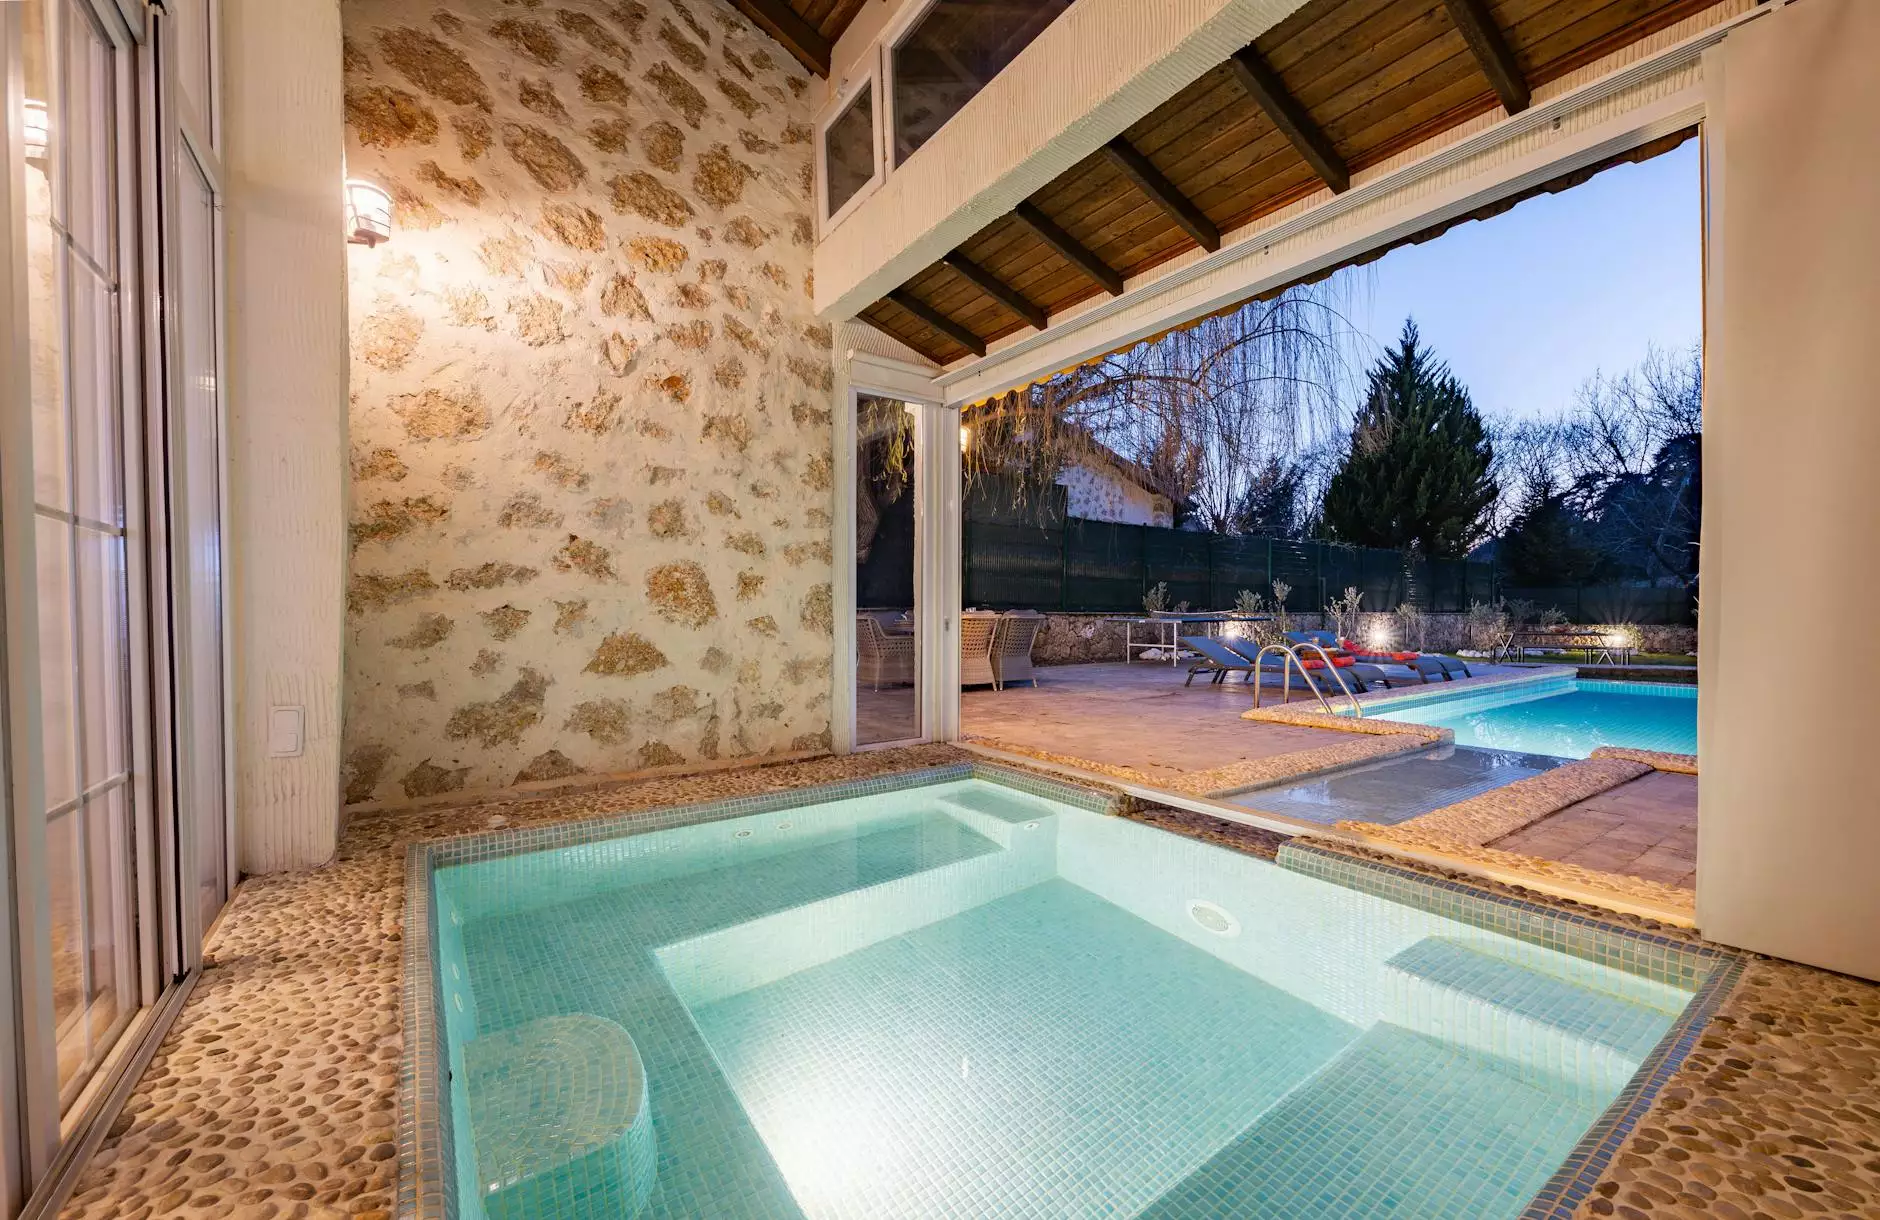
Maintaining a pristine swimming pool is essential for not just aesthetic appeal but also for enhancing the overall experience of pool owners. One important aspect of pool maintenance is understanding the process of replacing pool tiles underwater. In this exhaustive guide, we will explore the intricacies of this process, providing valuable insights, expert tips, and practical advice that will empower pool owners to take charge of their pool renovation needs.
Understanding the Importance of Pool Tile Replacement
Pool tiles serve multiple functions, from enhancing the visual allure of your swimming pool to protecting its structural integrity. Over time, tiles may become cracked, discolored, or even lose their adhesion due to various factors, including:
- Water chemistry imbalances
- Weather exposure
- Wear and tear from heavy use
- Improper installation of tiles initially
Identifying the need for tile replacement is crucial to prevent further damage and costly repairs. Regular inspections can help you maintain your pool in optimal condition, ensuring that swimming remains safe and enjoyable.
The Benefits of Replacing Pool Tiles Underwater
Opting to replace pool tiles underwater offers several advantages, including:
- Cost Savings: Replacing tiles underwater eliminates the need to drain your pool, saving money on water costs and reducing the time the swimming pool is out of service.
- Less Disruption: By performing work underwater, you can expedite the process and maintain aesthetic appeal without prolonged exposure to an empty pool.
- Improved Safety: Broken or loose tiles can pose a hazard to swimmers. Replacing these tiles promptly enhances safety for everyone.
Tools and Materials Needed for Underwater Tile Replacement
To ensure a successful tile replacement project, preparing the right tools and materials is essential. Here is a comprehensive list:
- Adhesive and Grout: Choose a waterproof adhesive designed specifically for underwater applications.
- Replacement Tiles: Match the existing tiles in color and size, or opt for a whole new design for refreshing the pool's look.
- Sponges and Rags: For cleaning surfaces before applying adhesive.
- Tile Cutter or Wet Saw: For shaping tiles to fit perfectly in tight spots.
- Underwater Trowel: Helps in applying the adhesive evenly.
- Safety Gear: Including gloves and goggles to protect yourself during the process.
Step-by-Step Guide to Replacing Pool Tiles Underwater
Replacing pool tiles underwater requires careful planning and execution. Below is a detailed step-by-step guide:
Step 1: Assess the Damage
Begin by inspecting the pool to identify all tiles that require replacement. Look for cracks, loose tiles, and tiles that have fallen off.
Step 2: Prepare the Work Area
Clear away any debris or dirt around the tile areas to ensure that the adhesive adheres effectively. Use a sponge to clean the surrounding area thoroughly.
Step 3: Remove Damaged Tiles
Carefully pry out the damaged tiles using a flat tool. Take care not to damage surrounding tiles; this will help maintain the integrity of your pool’s finish.
Step 4: Apply Adhesive
Using an underwater trowel, apply a generous amount of waterproof adhesive onto the back of the replacement tile as well as the surface where the tile will be placed.
Step 5: Place the New Tiles
Position the new tile in the prepared space and press gently yet firmly to ensure a solid bond. Make sure it's level with the surrounding tiles.
Step 6: Grout the Tiles
After placing the tiles, allow the adhesive to cure for the recommended time as per the manufacturer’s instructions. Then, apply grout using the same underwater method, ensuring all joints are completely filled.
Step 7: Clean Excess Grout
Use a wet sponge to gently clean off any excess grout from the tile surface without disturbing the joint filling.
Step 8: Allow to Cure
Let the grout cure fully as per the specifications before refilling the pool. This is crucial for ensuring the durability of your repairs.
Common Challenges and How to Overcome Them
Replacing tiles underwater can pose challenges. Being prepared can help tackle them efficiently:
Adhesive Failure
Ensure you're using the right adhesive that is certified for underwater applications to avoid early failure of the bond.
Tile Alignment Issues
Take time to align tiles properly during placement. An uneven tile can detract from the pool’s appearance.
Difficulties with Grout
Using a waterproof grout specifically designed for submerged applications is essential. Consistency is key; don’t make it too runny.
Professional Help: When to Call Experts
While DIY tile replacement can be rewarding, certain situations call for professional intervention:
- Severe Damage: If you notice structural issues beyond just tiles, professionally diagnosing and repairing is essential.
- Complex Designs: Intricate or custom tile designs may require skilled hands for installation.
- Time Constraints: If you're short on time or lack experience, hiring professionals can save you hassle and ensure quality results.
Conclusion: The Value of Regular Pool Maintenance
Regular maintenance, including replacing pool tiles underwater, not only enhances the beauty of your pool but also ensures a safe and enjoyable swimming environment. Understanding the process empowers you to take action whenever necessary, resulting in a well-maintained space for relaxation and recreation.
For any pool renovation services, think of professionals from poolrenovation.com who can provide expert and reliable service, ensuring your swimming pool remains a stunning centerpiece of your outdoor living space.
© 2023 Pool Renovation. All Rights Reserved.